Classes and student rosters
Create class details, enter students, or use the Files picker to import a roster CSV.
Create a class
- Tap Classes in the top navigation.
- Tap New class.
- Enter the class name and optional period, block, or subject.
- Choose First Last or Last, First.
- Tap Create class.
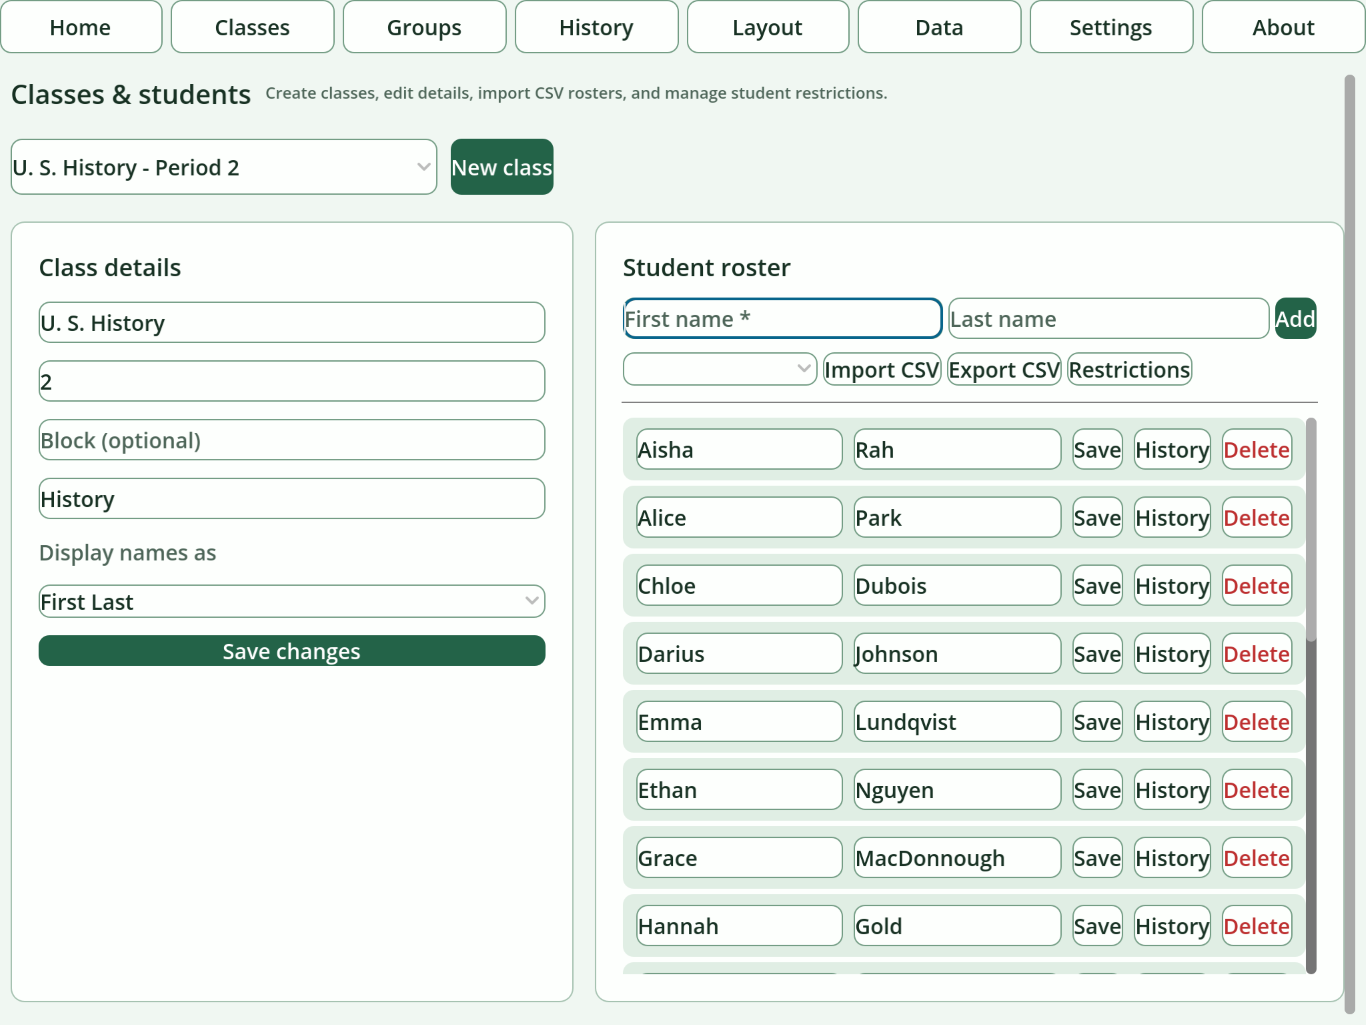
Add, edit, or delete students
- Enter a required first name and optional last name.
- Tap Add.
- Edit a student row and tap Save to correct a name.
- Tap Delete and confirm to remove the student.
The roster uses available vertical space before showing its own scrollbar.
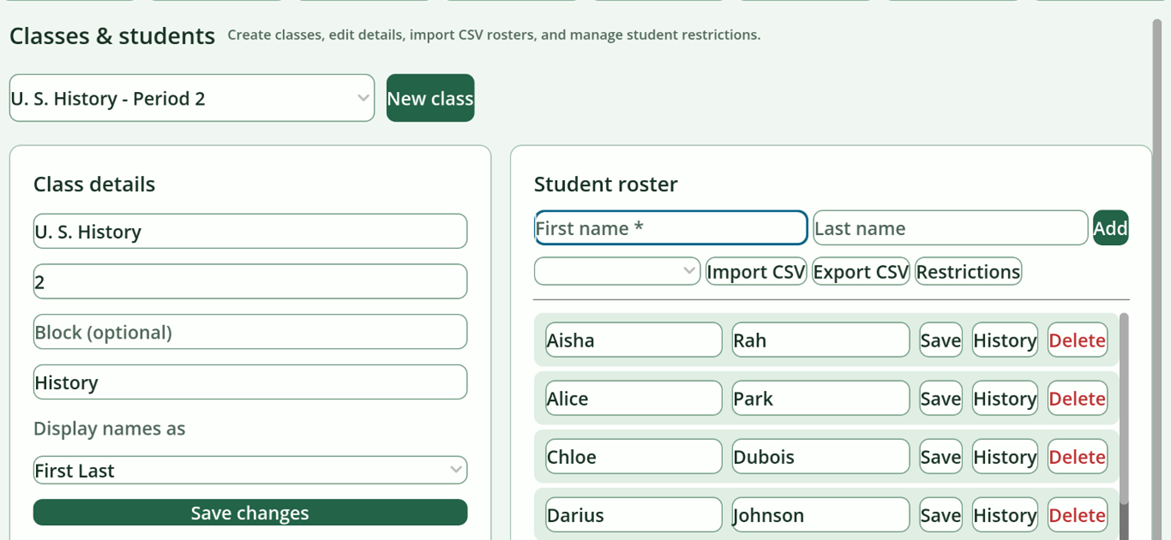
Import or export CSV through Files
Import
- Choose Merge CSV or Replace roster.
- Tap Import CSV.
- Use the iOS document picker to browse Recents, iCloud Drive, On My iPhone/iPad, or another enabled provider.
- Select the CSV file and review any duplicate notice.
Export
Tap Export CSV, choose a folder in Files, and save. The export contains the selected roster only.
Replace removes the current roster first.Use a database backup when the class already has important rules or history.
Open student feedback history
Tap History in a student row to review feedback involving that student. Change the scope to the class or all feedback when needed.