Classroom room layouts
Build reusable rooms with touch-friendly tools, arrange tables and chairs in groups, save table groups, customize your room layout. You can easily make several different layouts for the same room to use as you need.
Keep the canvas usable
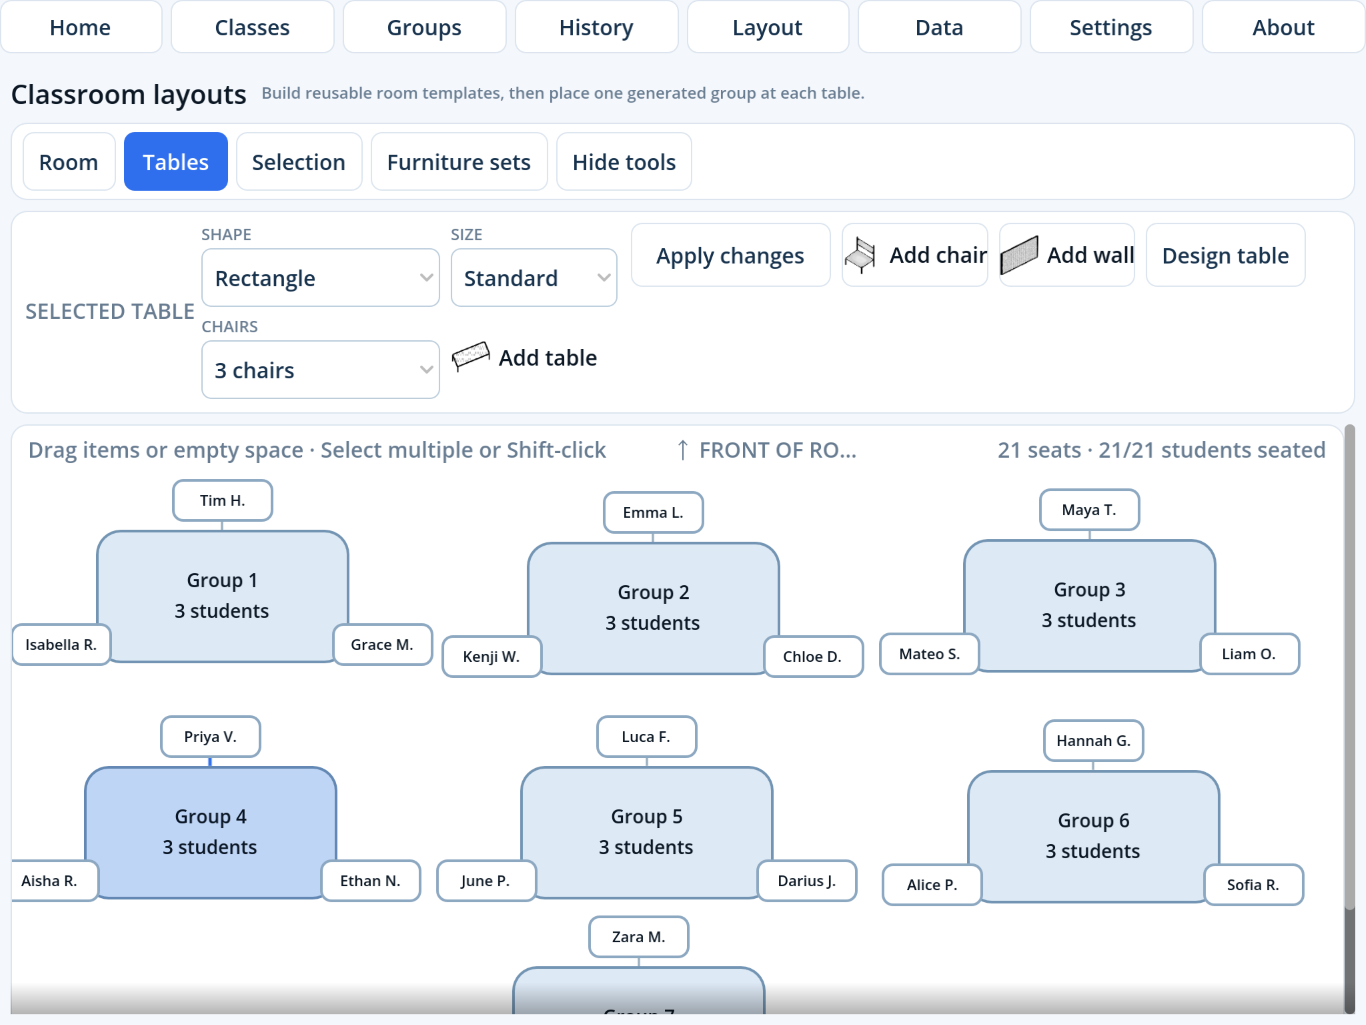
Tap Room, Tables, Selection, or Furniture sets to show only that tool panel. Tap Hide tools when you need most of the screen for the room. The controls remain above the canvas and do not scroll away.
Build a room
- Tap Layout in the top navigation.
- Open Room and choose New layout.
- Open Tables; choose Shape, Size, and Chairs.
- Tap Add table and drag it into position.
- Add chairs or walls as needed. A chair added while a table is selected joins that table.
The canvas top represents the front of the classroom. Short connector lines identify each chair’s table.
Move objects and pan the room
- Drag a table, chair, or wall to move it.
- Drag any empty canvas area to pan the room.
- Swipe vertically from empty canvas space to reach items below the visible area.
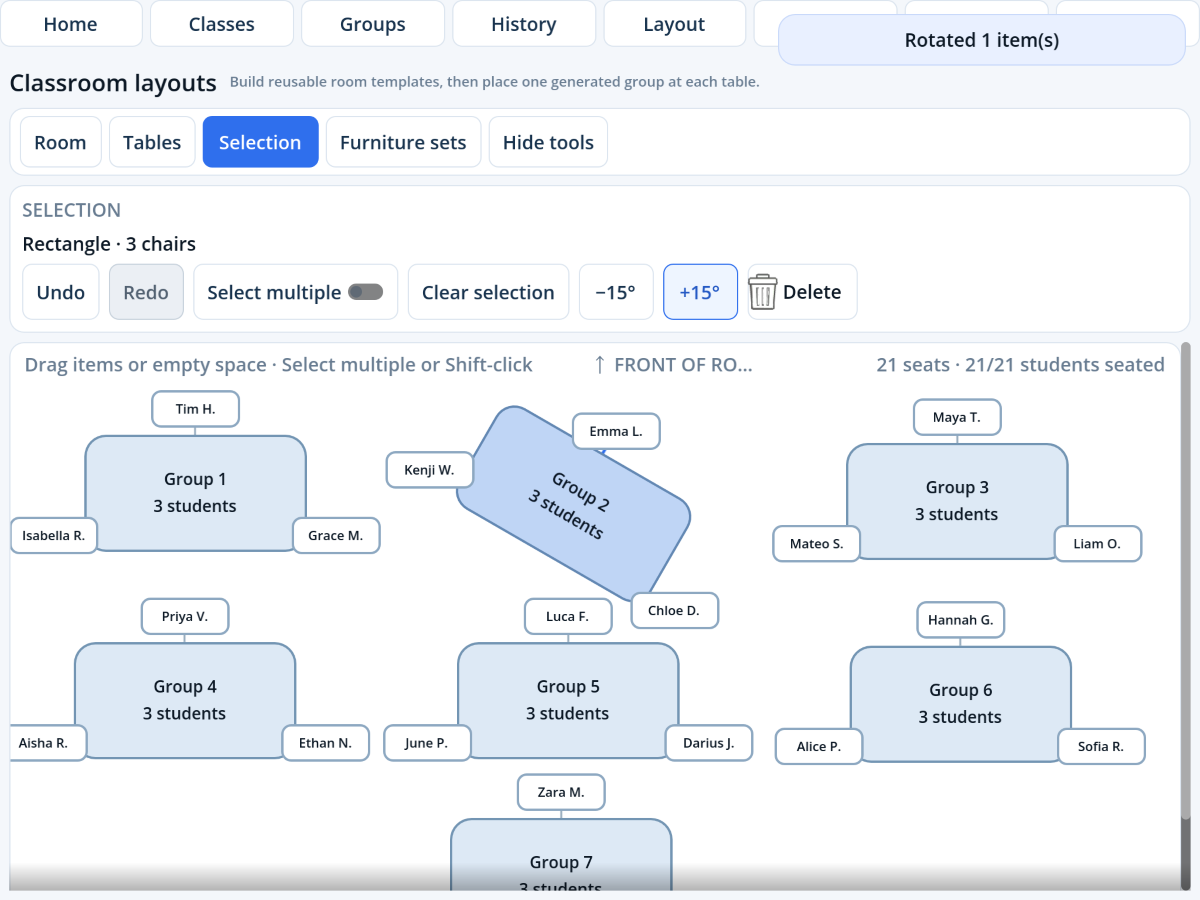
- Tap an item and open Selection to rotate or delete it.
- Use Undo or Redo after an accidental touch action.
Select multiple objects
- Open Selection.
- Turn on Select multiple.
- Tap every table that should be included.
- Rotate, delete, or save the selection as a furniture set.
- Tap Clear selection or turn off Select multiple when finished.
Save the room and place groups
Open Room, enter a Layout name, and tap Save layout. Saved rooms are available to every class. The in-progress room is also preserved when you navigate away.
From Groups, tap Place groups in layout and choose the saved room. Existing seats fill first; remaining students receive independent Overflow tables to the right. Seat and unseated totals appear in the canvas header.