Classroom room layouts
Build reusable rooms, assign groups to seating destinations, and adjust tables, chairs, and walls directly on the canvas.
Use the compact tool panels
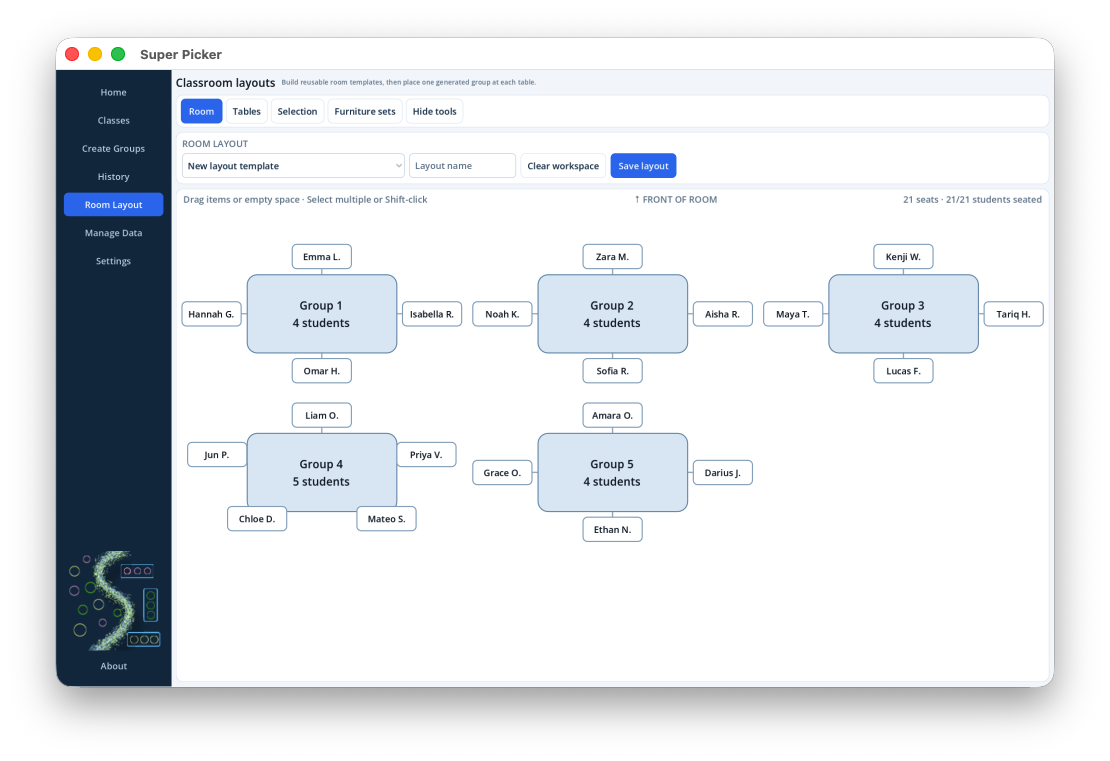
The top row switches among Room, Tables, Selection, and Furniture sets. Only one panel is visible at a time. Select Hide tools to give the canvas more room; select Show tools to restore it.
| Panel | Purpose |
|---|---|
| Room | Start or load a layout, enter its name, clear the workspace, and save. |
| Tables | Choose table shape, size, and chair count; add tables, chairs, walls, or open the custom designer. |
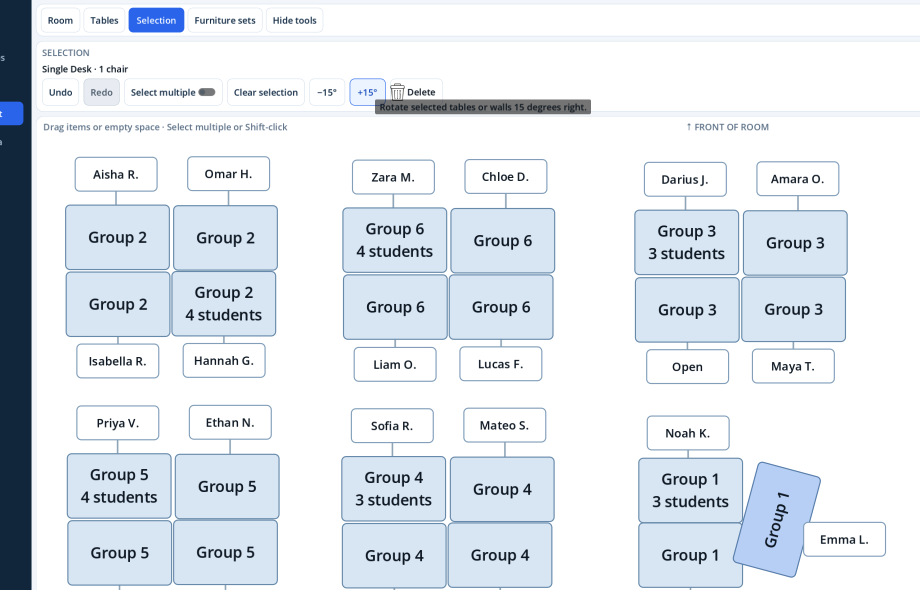
| Selection | Review what is selected, undo/redo, select multiple, rotate, clear, or delete. |
| Furniture sets | Save selected furniture as a reusable set, add a saved set, or separate one. |
Build a new room
- Open Room Layout and choose New layout.
- Open Tables. Choose Rectangle, Round, Small rectangle, Trapezoid, single desk, or a saved custom shape when available.
- Choose Compact, Standard, or Large, then select the number of chairs.
- Select Add table. Drag it into position.
- Add independent chairs or wall segments as needed.
The top of the canvas is always the front of the room. Connector lines show which chairs belong to which tables.
Select, rotate, and edit items
- Click a table, chair, or wall to select it.
- Shift-click additional objects, or turn on Select multiple.
- Use -15° or +15° to rotate selected tables or walls.
- Select one table, change Shape, Size, or Chairs, then select Apply changes.
- Deleting a table also deletes its associated chairs.
- Use Undo and Redo for additions, deletions, movement, rotation, settings changes, and grouping actions.
Move objects and navigate the canvas
Drag an object to move it. Drag empty canvas space to pan, and use the trackpad, mouse wheel, or scrollbar to move vertically. Student labels remain horizontal while their table rotates.
Save and resume a layout
- Open the Room panel.
- Enter a unique Layout name.
- Select Save layout.
Room layouts are available to every class. An in-progress layout is also autosaved as a working draft when you leave the screen or close the app.
Clear workspace removes everything only after confirmation. It does not delete already saved layouts.
Place generated groups
From Create Groups, select Place groups in layout. Select a saved layout, then let Super Picker assign one student group to each table or combined furniture set. You can continue dragging tables and chairs after assignment.
If a layout has too few seats, existing seats fill first and generated Overflow tables appear to the right for remaining students. Overflow tables move independently. The header reports seats, seated students, overflow, and unseated counts.